KickAssYoga

Donnerstag, 19. März 2015

HAPPY HIPS: Part 4 FROG POSE

FROG -  MANDUKASANA

In Part 4 of our YOGA BASICS series, we're looking at a MASSIVE inner thigh stretch, called FROG POSE. (There are various Yoga styles, with numerous names for different postures, so this might be called different then what you've learned or seen, but let's not argue about that...) This one gets the Adductors with almost aggressive intensity that becomes even more important to listen to your body: are you hurting your self or are you benefiting from this position? Start easy and increase slowly, rather than throwing yourself too fast, too deep into the pose. The key is to EASE into your hips.

PROPS: 
  • Blanket/ Padding for sensitive knees
  • Cushion to rest your upper body

BENEFITS:


  • Stretches the inner thighs 
  • Opens chest and shoulders
  • Supposedly therapeutic for menstrual cramps      (I do not have tried it yet for this occasion though)


CAUTIONS:

  • Do not practice with pain, esp. in Groins or Hips, or with serious knee injuries, ankle injuries or lower back pain!
STEP BY STEP:

  • Begin on all fours. Walk your knees out to the sides, hips in line with your knees, so that you feel a comfortable stretch without straining. 
  • If you need more cushioning under your knees, place one knee on your mat and the other one outside of the mat on a blanket.
  • Your shins should be parallel towards each other, feet are flexed.
  • If it feels good, lower your forearms down to the ground.
  • Tilt your tailbone down to avoid arching in your lower back.
  • Keep the back of your neck long. Close your eyes and breathe. 
  • Stay for as long as you can listen to your breath without screaming in agony on the inside.
  • IF you need to scream, do so! Or use lions breath to vent.
  • Over time your knees may slide further apart.
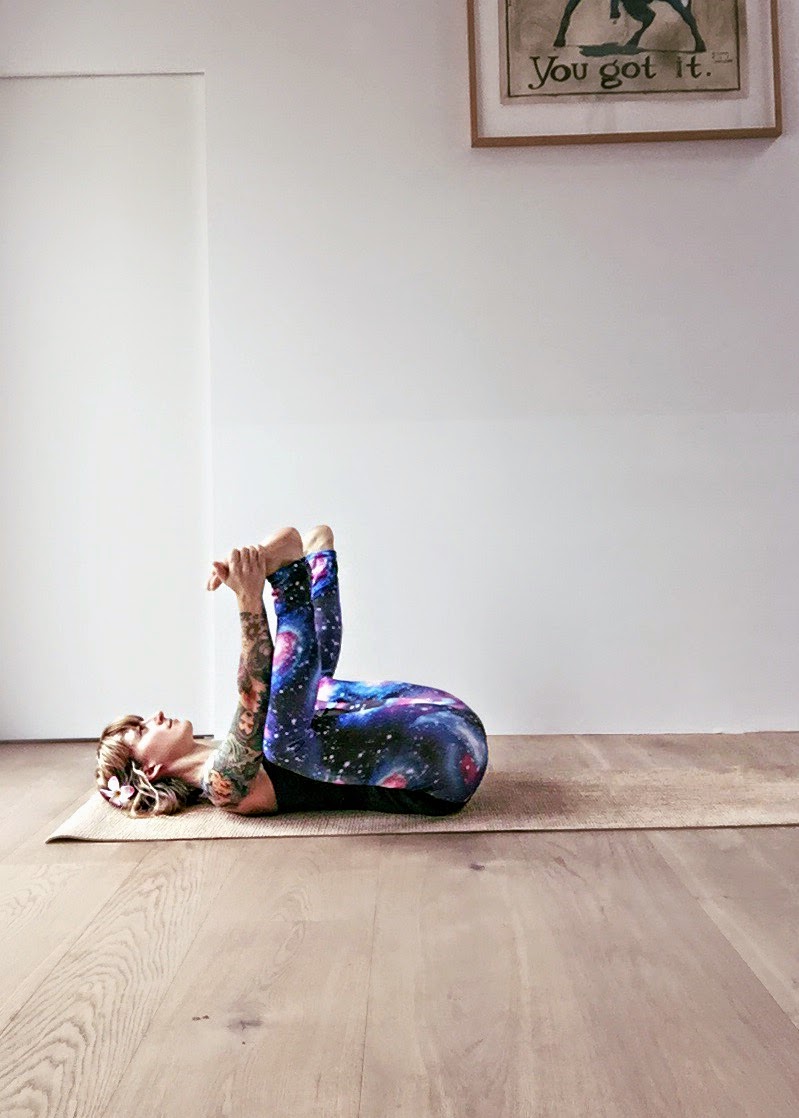
  • Coming out of the pose: Slide your upper body forward, knees together, either roll onto your back and gently pull your knees in toward chest or sit up, knees together. Rest.

Modification: EASY FROG

  • If FROG is too intense, try EASY FROG
  • Although I have heard students call this one harder, you may try and find out your self.
  • Same start: on all fours, knees out to sides, but:
  • big toes touch, lower your feet down to the floor and then try to reach your buttocks towards your heels.
  • Rest your upper body on the floor or on a cushion.
  • Stay for as long as you can listen to your breath, maybe 2-5 Minutes.


P.S. Now you know why the Sticky Mat Label "Manduka Mats" have a little frog as their logo. ;)

Mittwoch, 18. März 2015

HAPPY HIPS: Part 3 HAPPY BABY


HAPPY BABY POSE - ANANDA BALASANA
is a wonderful, calming pose to either end a high intensity Vinyasa Style class or begin a Yin Yoga session. This pose can be very challenging for those who have been sitting a lot, so using a strap will come in handy. Try rocking in this position to massage your muscles left and right of spine, called Erector Spinae on your Lower and Mid Back.

PROPS: 
  • optional Strap/ Belt

BENEFITS:

  • gently stretches the inner groin and the lower spine
  • calms the mind, helps relieve stress or fatigue

CAUTIONS:

  • do not practice with pain, esp. in Groins or Hips, or with serious knee injuries                         

STEP BY STEP:


  • Lie on your back. With an exhale, bend knees into chest.
  • Allow your knees to open up wider than your torso, so you can grab the outsides of your feet.
  • If you can not reach your feet, wrap a strap over both feet and grab the ends on the outsides of both feet.
  • Your shins are perpendicular towards the floor. Feet flexed.
  • Slowly try to lower your sacrum down towards the mat, and at the same time gently pulling your knees down towards your armpits.
  • If it feels good: try rolling left and right like a Happy Baby without Nappies. :)
Modifications: ARDHA ANANDA BALASANA
  • For a one-legged variation, just grab your right foot. Left foot stays flat on the ground or left leg extends. 
  • Avoid collapsing to the right side. 
  • Keep your left hip grounded.
  • Could your breaths. And change sides. 


Samstag, 14. März 2015

HAPPY HIPS: Part 2 HIGH LUNGE

In Part 2 of our YOGA BASICS series, we're looking at another really simple pose, which is HIGH LUNGE. HIGH LUNGE kind of is the advanced variation of LOW LUNGE and  it' s the ground floor, like Prep Work for some of the following poses: Crescent Lunge - also known as Warrior 1, Warrior 1 Twist and Vashistasana. These Follow Up poses involve lifting the torso upright, which leads to backhanding. So, no backbends in this one, groundwork first. We'll see from here. Lunges are great for decompensating the overall lifestyle of sitting on our asses all day. We need to strengthen our legs more and open our hips, which is why I personally love all LUNGES.


Let's look at our base, the HIGH LUNGE:

PROPS: 

  • optional Yogablocks/ or books underneath your  hands.

BENEFITS:
  • releases tension in hips
  • stretches hamstrings, quadriceps, psoas
  • strengthens your legs
  • helps build mental focus

CAUTIONS:
  • do not practice with pain, esp. in Groins or Hips, or with serious knee injuries
  • neck problems ( rather look down at your mat instead of straight ahead)                            

STEP BY STEP:
  • From Downdog, lift right leg up 
  • Exhale step your right foot forward between your hands, aligning the right knee over the heel. Do not allow your right knee to go past your foot, if it does, increase the length of your stance.
  • Come onto you fingertips or blocks and try to arch your back as if you're trying to create a hollow back, just to stop your back from rounding.
  • With every inhale reach your heart forward, lengthening your spine and with each exhale push your left heel back, creating space in your left groin.
  • For more intensity: place both hands on the inside of right foot. Either stay here and try to lower your forearms down (over time!, again: avoid rounding your back) or as shown on the 2nd pic: walk your hands away from your right knee, without allowing your knee to drop to the center, instead push your knee to the right and maybe walk your hands diagonal away from your knee or bring forearms down.
  • Coming out of the pose: walk hands back to center, step right leg back. Switch sides.


Note on the side: Count your breaths, so that you can hold both sides for approx. the equal amount of time. It is quite common that the left side, the other side, is being held for a little shorter while. Stay for about 15 breaths on each side or set a timer and hold each side for about 1-2 Minutes. 


Donnerstag, 12. März 2015

HAPPY HIPS: The LOW LUNGE


The LOW LUNGE - ANJANEYASANA

To start off with the YOGA BASICS Hip Opener series, we'll begin Part 1 with a really simple one, the Low Lunge


(Yes, there is a High Lunge, which I'm going to post as Part 2.) Lunges are part of our basic movement patterns, just a little over exaggerated. Every step you take, while walking, can be a Hip Opener if you activate your Glutes. Over time with certain variations the Low Lunge can get really intense. And as I have recently learned: through new scientific reasearch regarding the topic of stretching the FASCIA with Yoga, it's really good for your Neuro system to change the way you practice from now and then, so that your system can adapt and grow through new input/ new challenges. As I said before in the Intro to this series, I am showing you variations of Hip Openers that are EASY for your lower back. In classic ANJANEYASANA the torso is upright, the arms reach for the stars, possibly you sink deeper into the groin. This needs to be done with perfect care and good alignment for your lower spine. I am purposely leaving this out, for now. 


PROPS: 

  • optional padding/ blanket underneath the kneeling knee.
  • optional Yogablocks/ or books underneath your  hands.

BENEFITS:

  • releases tension in hips
  • stretches hamstrings, quadriceps, psoas
  • strengthens your knee
  • helps build mental focus

CAUTIONS:

  • do not practice with pain, esp. in Groins or Hips


STEP BY STEP:

  • From Downdog, lift right leg up into Eka Pada Adho Mukha Shvanasana (One Legged Downdog) 

  • Exhale step your right foot forward between your hands, aligning the right knee over the heel.

  • Lower your left knee to the ground (optional padding), keeping the right knee in place.
  • By pressing down the ball of my back foot, you can increase the length in your left groin. 

  • You can also drop the top of the left foot flat.
  • Palms or fingertips down, optional Hands on Blocks.
  • With each inhale imagine lengthening your spine forward, dropping your tailbone toward the floor, lifting your pubic bone up, towards your navel.

  • With each exhale sink into your Hips.
  • Inhale lift your left knee off the floor, Exhale step back into Downdog.
  • Repeat on the other side.

Note on the side: Count your breaths, so that you can hold both sides for approx. equal amount of time. It is quite common that the left side, the other side is being held for a little shorter while. Stay for about 15 breaths on each side or set a timer and hold each side for about 1-2 Minutes. 


Dienstag, 10. März 2015

YOGA BASICS: Happy Hips

7 Tricks for Happy Hips

I am introducing my new series called Kick Ass Yoga Basics and I will be starting off with the 7 most important Hip Openers. There are many more, but I handpicked these because they are Beginner friendly and still challenging for Pros as well, without crossing the line from Hip Opener to Back Bend for all of those who find Backbends very challenging.

Since I don't really believe in overall Levels like "I've been practicing for years, therefore I'm Level 4", I'd like to be clear that I do believe that each one of us owns different kinds of "Levels" of strength or mobility in their bodies.


These following 7 important Hip Openers are divided into easy, medium and tough versions so that you can pick your own Variation for each day.

When practicing Hip Openers it is really interesting to find out where the so called comfort zone ends and hard work begins without straining yourself. Practice without pain.

1. Low Lunge
2. Crescent Lunge      = ANJANIYASANA
3. Happy Baby Pose   = ANANDA BALASANA
4. Half Pigeon            = EKA PADA RAJAKAPOTASANA
5. Frog                      = MANDUKASANA
6. Seated/Reclined Butterfly = SUPTA/BADDHA KONASANA
7. Firelog Pose           = AGNI STAMBHASANA

Props required: maybe a blanket, maybe 2 Blocks.

I will be discussing poses that are Hip Openers who require a deeper understanding of being able to perform Backbends without the risk of injuring yourself, like Camel Pose, Hero, Hanuman, Setu Dhanurasana, Urdva Mukha Svanasana...in the next Basics Series.

I will be starting with the first one in my next post, which is easy yet intense: Low Lunge.

See ya! J

YOGA BASICS: Die 7 wichtigsten Hüftöffner!

Ach Du liebe Hüfte!

Ab morgen stelle ich aus meiner neuen Reihe KICK ASS YOGA BASICS jeden Tag einen der 7 wichtigsten Hüftöffner vor, mit Anfänger Varianten und Fortgeschrittenen Optionen. 

Da ich persönlich nicht an Levels glaube, im Sinne von 'Ich praktiziere schon jahrelang und bin deshalb Level 4', sondern eher an Berufsbedingte Stärken bzw. Schwächen, die in Kraft- oder Flexibiltätsübungen zum Ausdruck kommen. 

Als Beispiel: Nehmen wir einen Mann, mittleren Alters, der täglich über Stunden im Sitzen arbeitet und ab und zu Mal Sport treibt, im Vergleich zu einer ehemaligen Tänzerin, die als Choreografin tätig ist. Er wird vielleicht mehr Kraft im Oberkörper anwenden können, während Sie allgemein sehr fexibel ist. Er ist möglicherweise vom Grundprinzip her "überspannt", (im Englischen: tensed) und sie möglicherweise "unterspannt". Beide beginnen ihren Yogaweg und weisen unterschiedliche Voraussetzungen vor: er kann Liegestütze ohne Ende (das wäre in Level 3 Klassen von Vorteil), leidet dafür in Hüftöffnern- ist also in diesem Bereich ein Anfänger, also Level 1. Sie kann kaum ein Chaturanga halten (Level 1) und spürt im Spagat annähernd nichts, ist also hier ein Level 3. 

Das bedeutet, dass wir alle in unseren Körpersystemen unterschiedliche Level finden werden. Es wäre ja auch sonst zu einfach. :)

Diese folgenden 7 Hüftöffner stelle ich vor und teile sie, statt in Level in leicht, mittel oder schwer auf. Für manche dieser Hüftöffner bietet sich als Hilfsmittel eine Decke an oder 2 Klötze. Es ist ausserdem wichtig herauszufinden, und das kann jeder wirklich nur für sich: wo endet die Komfortzone, das Streichelprogramm? und wo fängt das geduldige, saftige Weichkneten an, welches nicht immer angenehm ist aber niemals schmerzen darf!:

1. Low Lunge         = Tiefer Ausfallschritt
2. Crescent Lunge = Ausfallschritt (Grundposition des so genannten einfachen Krieger 1)
3. Happy Baby       = ANANDA BALASANA
4. Halbe Taube      = EKA PADA RAJAKAPOTASANA 
5. Frosch               = MANDUKASANA
6. Sitzender Schmetterling/liegender = SUPTA/BADDHA KONASANA
7. Doppelte Taube = AGNI STAMBHASANA


Zur Reihe der Hüftöffner, die jedoch ein tiefergehendes Verständnis der Rückbeugen Thematik voraussetzen, werde ich ein ander Mal vorstellen, wie zB:
Kamel, Hero Pose, Hanumanasana ,Urdva Mukha Svanasana, Setu Dhanurasana.

Ab Morgen kommt als Erstes also der Low Lunge dran, simpel und doch intensiv und jeden Tag anders!
J

Sonntag, 8. März 2015

Multi-Kulti: GERMAN + ENGLISH BLOGPOSTS

Dear Yogis and Yoginis,

My first idea - when I started this Blog - was to write in various languages. I grew up in a trilingual household which has led to my love for words, languages, accents and wordplays. German really is a tough language (every one knows that) if you didn't grow up learning it as a child, which is why I always thought of writing in English as well. I was really happy when I found the Translate Button, which I added to this page, unfortunately, it does work, but...well, no offense...sometimes it doesn't sound quite right - if you know what I mean.


This is why I've decided to start translating some of the recent posts myself, and I am going to write my future posts in various languages as well... I can offer you the obvious German and English but also Croatian and Slovenian (and also bad French and Spanish ;).

So, whenever you're checking my Blog, look for the labels if you're specifically looking for posts in different languages...

Namaste,
J